Structural Drying: What Stops Mold Fast
- Curt Eddy
- Feb 14
- 6 min read


You mop up the puddle, run a few fans, and the carpet feels dry. Then the baseboards start to swell, the room smells “off,” or a stain blooms on the ceiling a week later. That is the moment most homeowners realize water doesn’t just wet what you can see - it migrates into padding, drywall, framing, and subfloors, where it can sit quietly and cause expensive secondary damage.
Structural drying is the professional process of removing that hidden moisture from a home’s building materials after a leak, flood, or backup. Done right, it prevents mold growth, limits warping and delamination, protects indoor air quality, and shortens the overall restoration timeline. Done halfway, it can leave you with repairs that keep multiplying.
What “structural drying” really means (and what it is not)
Structural drying is not “turn on a few fans and hope.” It is a controlled drying system based on measurement, airflow science, and humidity management. The goal is to dry wet structural materials back to a safe moisture content so the home can be repaired and lived in normally.
It also is not the same thing as water extraction, even though they work together. Extraction removes bulk water quickly from carpet and surfaces. Structural drying is what happens after that - the hours and days where the real work is pulling moisture out of materials that act like sponges.
And it is not always possible to “dry in place.” Sometimes drywall, insulation, or flooring must be removed to dry the structure correctly. A trustworthy restoration team will explain when drying is appropriate and when removal is the safer, faster option.
Why hidden moisture is the real threat
Water damage gets worse the longer it stays. Even clean water from a supply line can become a problem as it soaks into porous materials. If the source is contaminated (gray water from appliances or black water from sewage), the risk is immediate and drying has to be paired with proper cleaning and disposal.
Here is what trapped moisture can do inside a typical Wasatch Front home:
Wood framing and subfloors can swell, cup, or weaken. Drywall can lose its integrity and crumble. Insulation can hold moisture and keep cavities damp for weeks. Adhesives under flooring can break down, leading to bubbling, separation, or permanent warping.
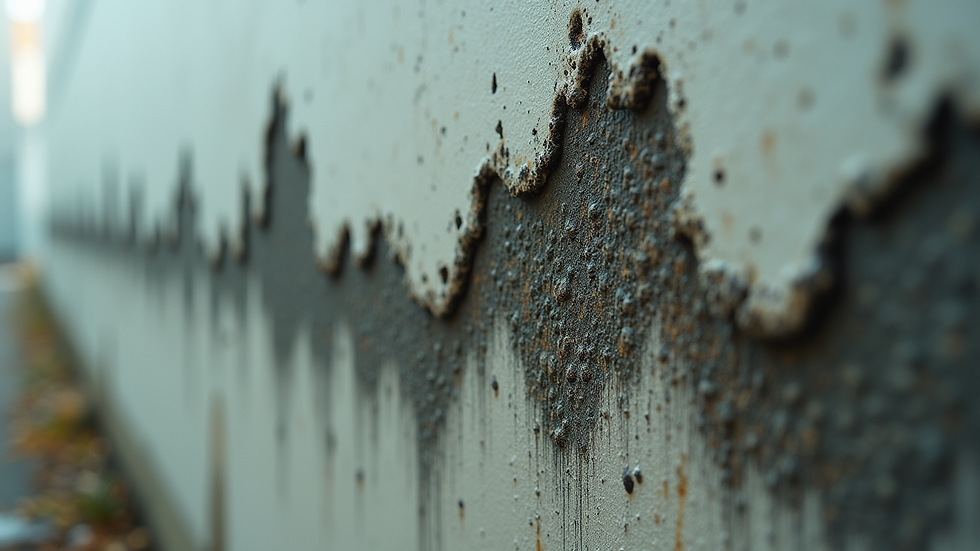
Mold is the concern most families think of first, and for good reason. Mold can begin developing in as little as 24-48 hours in the right conditions. Utah’s air can be dry, but inside a wet wall cavity the humidity can be high enough to support microbial growth fast.
The professional structural drying process
Every loss is different, but professional structural drying follows a consistent, documented workflow. If you are comparing companies, this is the baseline you should expect.
1) Inspection, containment, and a drying plan
A technician starts by identifying the source and the path of water migration. That means checking not just the wet spot, but adjacent rooms, lower levels, and the underside of affected areas if accessible.
A real drying plan includes decisions about what will be dried, what will be removed, and how the environment will be controlled. It also includes safety steps such as shutting off power to wet areas when needed and setting containment if there is a risk of spreading contamination or mold.
2) Moisture mapping with professional instruments
This is where structural drying becomes measurable instead of guesswork. Technicians use moisture meters (pin and pinless), thermal imaging to locate temperature differentials caused by wet materials, and thermo-hygrometers to read relative humidity, temperature, and dew point.
Moisture mapping matters for two reasons. First, it prevents missed wet zones that later turn into mold or repairs. Second, it creates documentation that supports insurance claims and validates that drying is complete.
3) Rapid water extraction (when applicable)
If there is standing water or saturated carpet, extraction happens early because it reduces drying time dramatically. Professional extractors pull far more water than household wet vacs, and that difference can shave days off a project.
For carpeted areas, extraction may be paired with controlled drying of carpet and pad, or with pad removal depending on the category of water and the extent of saturation.
4) Controlled airflow, dehumidification, and temperature
Drying equipment is not just “more fans.” Air movers are positioned to create airflow across wet surfaces, which accelerates evaporation. Dehumidifiers then remove that moisture from the air so the materials keep releasing water instead of reaching an equilibrium and stalling.
In some situations, specialized drying is used for cavities and hard-to-reach spaces, such as:
Wall cavity drying systems to move air behind drywall
Negative air setups when contamination or odor control is needed
Injectidry-style systems for under cabinets, subfloors, and tight assemblies
Temperature control is also part of the plan. Warmer air can hold more moisture, but too much heat can damage materials or create unwanted conditions. Good drying is balanced and monitored, not “crank the heat and walk away.”
5) Daily monitoring and adjustments
Structural drying is a living process. Equipment placement and settings often change as materials dry. Daily monitoring checks moisture content, humidity, and whether the drying environment is improving at the expected rate.
This is also when a professional team documents progress for insurance and flags any materials that are not responding to drying. If something is not drying as it should, the plan should change quickly - not after the drywall is patched and painted.
6) Verification that drying goals are met
Drying is not “done when it feels dry.” It is done when materials meet documented drying goals based on unaffected baseline readings or industry standards for similar materials. This is what allows repairs to move forward without trapping moisture inside walls or under flooring.
How long does structural drying take?
Most residential structural drying projects take about 3-5 days, but it depends.
A small clean-water leak caught early - for example, a supply line drip discovered the same day - can sometimes be dried faster if materials are minimally affected and airflow can reach the wet surfaces.
A bigger loss, like a flooded basement, an upstairs overflow that soaked multiple levels, or water that ran into wall cavities and insulation, can take longer. Hardwood floors, plaster, dense framing, and layered assemblies often slow the timeline because moisture moves through them more gradually.
What should concern you is not a company that says “it will take a few days.” What should concern you is a company that gives a firm finish date without taking moisture readings, or one that promises drying without discussing what is wet behind the scenes.
Can you do structural drying yourself?
If it is a very small area, discovered immediately, and the water is clean, a homeowner can sometimes dry it successfully with fast action: remove wet items, increase ventilation, and run dehumidification. The catch is that most people do not have the tools to confirm whether framing, drywall edges, or subfloors are still wet.
DIY becomes risky when:
Water went under flooring, into cabinets, or behind baseboards
The ceiling or a wall is involved (gravity spreads water in unpredictable paths)
The water source could be contaminated (dishwasher, washing machine, toilet overflow, sewage backup)
Anyone in the home has asthma, allergies, or sensitivity to mold
If you cannot confidently answer “what materials are wet, and what is their moisture content today,” you are guessing. Guessing is how small leaks turn into mold remediation and reconstruction.
What to ask a structural drying company before you hire
You are not being difficult by asking questions. You are protecting your home.
Ask whether the technicians are IICRC certified, whether the company is licensed and insured, and how quickly they can be onsite. In water damage, speed is not a luxury - it is damage control.
Ask what equipment they will use and how they will monitor progress. You want to hear “moisture readings,” “daily monitoring,” and “drying goals,” not just “we’ll set up fans.”
If you are filing an insurance claim, ask how documentation is handled and whether they coordinate directly with your carrier. Insurance moves faster when measurements, photos, and drying logs are organized from day one.
When to call for emergency structural drying
If any of these are true, treat it as an urgent situation:
You have water coming through a ceiling, standing water on floors, visible swelling of baseboards or drywall, or a musty odor starting to develop. The same goes for any sewage involvement, even if it seems “small.”
For homeowners across Utah County and the Wasatch Front, Home Pride Restoration and Cleaning LLC provides 24/7 emergency response with a 1-2 hour arrival window, IICRC-certified technicians, and full coordination with all insurance companies. The goal is simple: stop the damage, dry the structure correctly, and get your home back to normal without surprises.
The trade-offs that matter (and why “cheapest” can get expensive)
Structural drying always involves choices. Drying in place can preserve materials and reduce tear-out, but only if air can reach wet zones and the water category allows it. Removing wet drywall can feel disruptive, but it can also speed drying, reduce odor risk, and prevent trapped moisture.
Equipment cost and monitoring time are real. A company that underestimates drying may look cheaper on day one, then costs more when repairs fail, floors cup, or mold shows up. The best value is the team that measures, documents, and makes conservative decisions when health and structure are on the line.
If you are dealing with water in your home, focus on one priority first: get control of moisture fast, not just the puddle you can see. Once the structure is truly dry, everything else - repairs, paint, flooring, and peace of mind - gets easier.


Comments